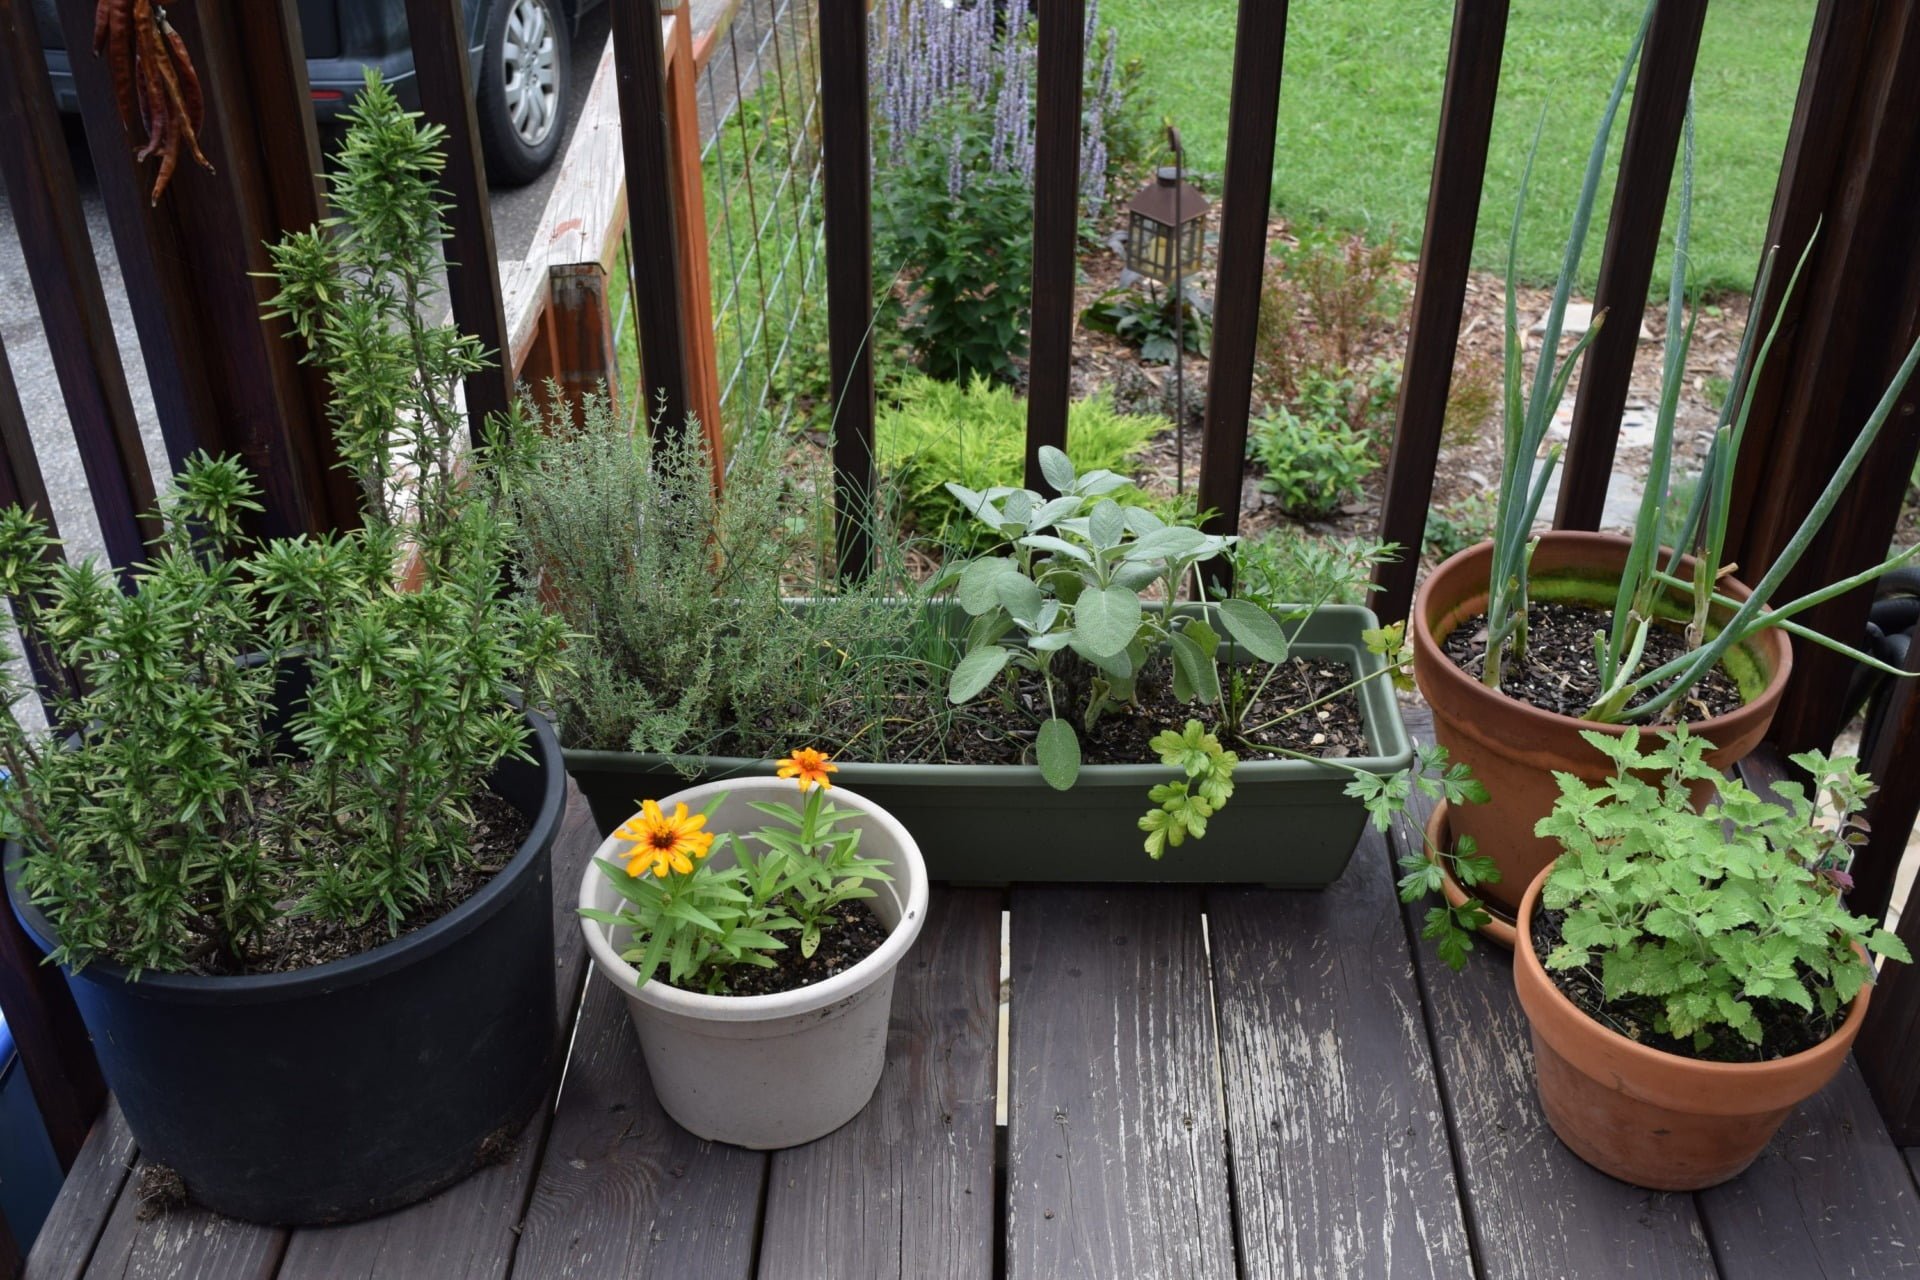
This week’s theme is container gardening. Our “Growing Minds Day by Day” educational resource lists are designed for families and educators.
Books:
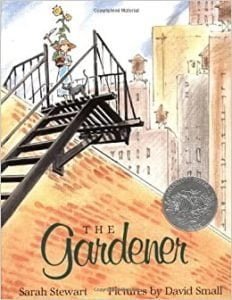 The Gardener
This week we’re recommending The Gardener by Sarah Stewart, a beautifully illustrated story told through a series of letters written by a girl who loves gardening. Lydia Grace writes to her family in the country after she is sent to live with her Uncle in the city during the Depression. Away from her home in the country, Lydia Grace turns to container gardening, planting seeds and bulbs in cracked teacups, bent cake pans, and window boxes. Watch a read aloud here.
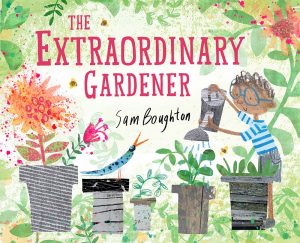 The Extraordinary Gardener
Next up is The Extraordinary Gardener by author/illustrator Sam Boughton. Joe is a boy just like any other, but with a bigger imagination. Joe lives in an ordinary apartment building in a rather ordinary city. His world is rather gray. But he spends his time imagining a wonderful, colorful world filled with exotic plants and unusual animals. One day, Joe decides to plant a seed on his balcony. He waits and waits, but nothing happens! Joe gives up and returns to his daily life, but when he least expects it, he sees that the seed has taken root and turned into the most beautiful tree. Watch a read aloud of this book on YouTube.
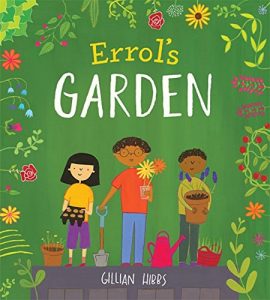 Errol’s Garden
Our final recommendation this week is Errol’s Garden by author/illustrator Gillian Hibbs. Errol loves gardening, but he doesn’t have a proper garden. Although his home is full of beautiful plants, he longs for an outdoor space where he can grow things. A chance discovery leads to a solution, but Errol can’t do everything on his own. Luckily, help is near at hand. A heart-warming and inclusive tale about how one small boy’s dream of a garden unites a diverse community in a positive and enriching experience for everyone. Watch a read aloud on YouTube.
Growing
A poem by Nicola Davies (from Outside Your Window: A First Book of Nature)
The balcony’s a jungle full of plants,
growing food for all the neighbors!
Basil to go on Mr. Scarlatti’s pizzas,
cilantro for Mrs. Singh’s curries,
mint for Mom’s tea when she gets home from work,
lettuce for Dad’s sandwiches,
and tomatoes for everyone!
Find more books
Visit the Growing Minds’ farm to school literature database to discover more of our favorite children’s books about gardens. Type “diversity” into the search bar to find books that feature characters from underrepresented racial and ethnic groups.
Local Food Recipe:
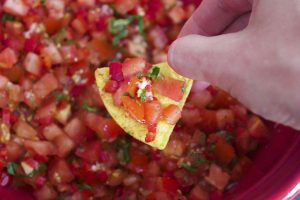 All of the vegetables in this week’s fresh salsa recipe could be successfully grown in pots or containers. When planning your next garden, consider creating a special “salsa garden” area in a raised bed or in containers on your porch or patio. Your salsa garden can contain all the ingredients needed to whip up a batch of homemade salsa, including tomatoes, peppers, onions or scallions, and cilantro. If your family or class is really ambitious, you could even try planting a small lime tree in a pot, though you would need to move the pot indoors before the first freeze of the season.
Kids can… rinse and cut up the veggies using a kid-safe knife, squeeze the lime, and mix together all of the salsa ingredients. Depending on what they help with, preparing this recipe can earn kids a square or two on our Kids Cooking Bingo card!
Fresh Tomato Salsa
Serves 4
Ingredients:
- 1 green pepper
- 1 medium onion
- 2 lbs. local tomatoes
- 1 bunch cilantro
- 1 garlic clove (optional)
- Juice of 1 lime
- Salt and pepper to taste
- Tortilla chips
Directions:
- Remove seeds from the green pepper.
- Finely chop the green pepper and onion and place in a large bowl.
- Dice the tomatoes and add to the green pepper mixture.
- Finely chop cilantro and garlic (or press the garlic using a garlic press).
- Mix all ingredients in the bowl.
- Add lime juice, salt, and pepper to taste.
- Serve with tortilla chips.
Educational Resources:
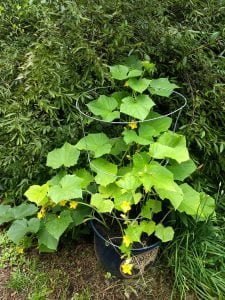 Living in an apartment, rental property, or urban environment doesn’t have to limit your gardening activities. Container gardening is a common urban gardening approach that can be adapted to any place where tillable, healthy soil isn’t accessible.
City dwellers find all sorts of creative places to plant things, from window boxes, to pots on balconies and fire escapes, to raised beds on rooftops. In places where the existing soil may have been contaminated by past pollution (like from car emissions or heavy industry), containers provide a safe place to grow edible plants.
Container gardening is practiced by people around the world, in urban and rural areas. Watching videos is a great way to introduce children to creative growing practices used in different communities, such as tire gardening in Haiti or rice sack gardening in Uganda. Or listen to a recent episode of ASAP’s Growing Local podcast to hear about food sovereignty and raised bed gardens in the Cherokee community in Western North Carolina.
By following a few simple guidelines, nearly any container can be used to successfully grow a wide variety of fruits, vegetables, herbs, and flowers.
Tips for Successful Container Gardening
Containers – While garden pots or raised beds might seem like the obvious choice for a container garden, you can plant a garden in almost any container with a few modifications. Plastic buckets, Tupperware containers, aluminum cans, plastic or burlap sacks, or hanging baskets will also work. Container gardening is a great opportunity for upcycling (or repurposing) old containers found around the house or yard and giving them a new life.
Drainage – Plant roots need to access oxygen in the soil in order to survive. When the soil is too wet for too long, air pockets in the soil collapse. In this environment, most plants will start to suffer from “root rot”, which can cause them to die. You can avoid this problem by ensuring that the containers you use for your garden have drainage holes at the bottom. You can use a hammer and nail to poke holes into soft plastic containers or aluminum cans, while you’ll need to drill holes into hard plastic buckets or pottery. If you don’t have the tools available to make holes in your container, try this workaround: fill the bottom of your container with a couple of inches of rocks or gravel to create a drainage area where excess water can drain in the case of overwatering. Be mindful not to overwater pots that lack a drainage hole, and if possible, protect these containers from rain by placing them under an overhang.
Watering – The soil in containers (particularly containers that have proper drainage holes) will dry out more quickly than the soil in the ground. This means that container gardens may require more regular watering than gardens planted in the ground. To check to see if it’s time to water your containers, place your finger into the soil one inch down. If the soil feels dry, it’s time to water. Watering your containers thoroughly will encourage plants to grow deep, healthy roots that will increase their stability. Water pots until you see water starts to trickle out of the drainage hole. Terracotta or unglazed ceramic pots will dry out more quickly than plastic containers.
Soil and Fertilizer – Containers can be filled with potting soil, or a combination of top soil and compost. Ideally, containers should be fertilized every few weeks by sprinkling in additional compost or organic fertilizer, or watering with compost “tea”.
Staking or Support – Because space is limited in a container, you may need to add stakes, trellises, or tomato cages to your containers in order to encourage vining plants (like tomatoes, pole beans, or cucumbers) to grow up rather than sprawl out.
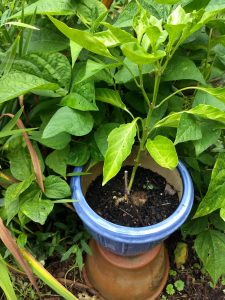 Container Gardening Tips for Teachers
Excerpt from Recipes for a Successful School Garden by Elizabeth Ebinger and Maggie Tuohy – This book (and many other garden reference books) are available for Asheville-based educators to check out of our Farm to School Lending Library.
“Potted Gardens are a great way to introduce gardening and the plant life cycle to students. These gardens often have fewer weeds, are portable from year to year and can fit in any small area without much planning. Pots with bagged potting soil will not have weeds the first year but do require more regular watering than in-ground gardens because they cannot pull water from deep inside the earth.
Be sure to read seed packets for proper seed spacing or else the plants will not grow well. Many pots are required to make up the same harvest as a traditional garden bed. If pots are the only way to introduce your students to outdoor gardening then by all means have a potted garden.”
More Resources from NC Cooperative Extension
Activities:
 Grow a Sweet Potato
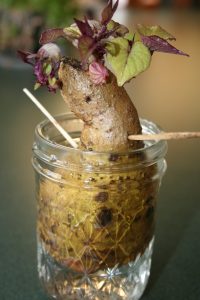
Historically, people grew sweet potato vines as houseplants. In addition to producing delicious edible roots, the plants have beautiful leaves. You and your child can easily grow your own sweet potato plant at home. To do so, cut a sweet potato in half and stick three or four toothpicks into the potato about halfway up. Place the potato in a small jar or glass so that the toothpicks rest on the container’s rim. Fill the glass with enough water so that it covers the bottom half of your sweet potato. Put it on a sunny windowsill and change the water every couple of days. It may take a few weeks or even a month before you see sprouts, but once they start, the vines and roots will grow quickly.
After your potato has sprouted, you can either continue to let it grow in water as a houseplant, or plant it in a pot or in your garden. If you want the plant to produce new sweet potatoes, you’ll need to plant the “slips.” Slips are the sprouts that grow out of the sweet potato. To plant the slips, carefully remove the sprouts (stems and leaves) from your sweet potato and bury them in a garden bed or a container, with the stem under the soil and the leaves above the soil. Once the plants get bigger, you can eat the leaves and shoots when they are tender and young. They have a mild, yet slightly spicy flavor, and are used in recipes around the world.
 Make a Mini-Garden
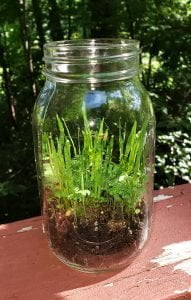
Help your child learn about sprouting seeds by making a mini-garden in a glass jar. Buy some wheat grass or grass seed from a local hardware or garden supply store. Soak the seeds in a small amount of water overnight. Fill the bottom of a glass jar with damp potting soil. Place the seeds on top and lightly water. The seeds will sprout rapidly and the children will be able to observe the roots growing down into the soil and the plant pushing up toward the light.
Your children might enjoy placing small plastic or ceramic figurines inside the jar to make their mini-garden more whimsical. Animals, dinosaurs, mushrooms, or fairies all make great additions to a mini-garden.
Grow Your Own Herb or Spinach Garden:
Herb Garden
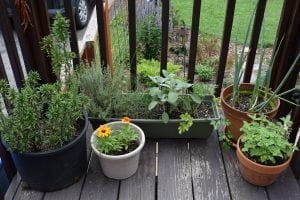
Fall is the perfect time to start an herb garden, which can be easily grown in containers. Children enjoy growing herbs because of their strong scents and flavors. Herbs also have varied and interesting textures, which makes them great sensory plants for touching. Their leaves can be easily harvested by kids for “tasting” or adding to dishes in the kitchen. Hardy perennial herbs (such as thyme, rosemary, mint, chives, and sage) can be left outside all winter, while containers of cold-sensitive annual herbs (like basil or parsley) can be brought indoors and placed near a sunny window before the first freeze to extend the harvest.
Many herbs can be started from seed in containers in August for a fall harvest, including cilantro, parsley, chives, lemon balm, dill, and catnip. Rosemary, sage, lavender, and thyme plants are best grown from transplants. You can choose to plant single plants in small containers, or combine different types of herbs in larger containers. If you can, provide each child with their own container, soil, and seeds or transplants, and allow them to design their own mini-herb garden. Be sure to refer to the seed packet or plant label for spacing information.
Spinach Garden
By the end of August, most of your garden vegetables for the fall should be planted in the ground or in containers. One of our favorite fall vegetables is spinach. It’s easy to make a simple spinach garden in a bucket, old Tupperware container, or any clean, large recycled container.
Directions:
- Drill small holes in the container, fill it with top soil, add a bit of compost (bagged mushroom compost is a great, affordable choice), and you’re ready to plant.
- Plant spinach seeds an inch apart and an inch deep. Be sure to keep the seeds well watered, especially during the first two weeks after you’ve planted them.
For best results, keep the container in the cool shade and water daily until the spinach seedlings poke through the soil, then move to full sun.
—
That’s it for this week. Check back next week for new resources. Click here to access Day by Day resources from past weeks. If you didn’t find what you’re looking for here, please visit our Lesson Plans page.

